Is Popcorn Ceiling Removal Messy?
Is Popcorn Ceiling Removal Messy?
“It looked like it snowed indoors.” That’s how one homeowner described their first go at popcorn ceiling removal. And honestly? They weren’t exaggerating.
Removing a popcorn ceiling isn’t just about scraping a little texture off. It’s a full-on process—and yes, it can get messy. Dust, debris, and tiny ceiling flakes have a way of getting everywhere if the job isn’t done right. But here’s the good news: with the right prep and tools, you can take most of the chaos out of the equation.
Let’s break down exactly what to expect, what causes the mess, and how professionals keep things clean and under control.
Why Is Popcorn Ceiling Removal So Messy?
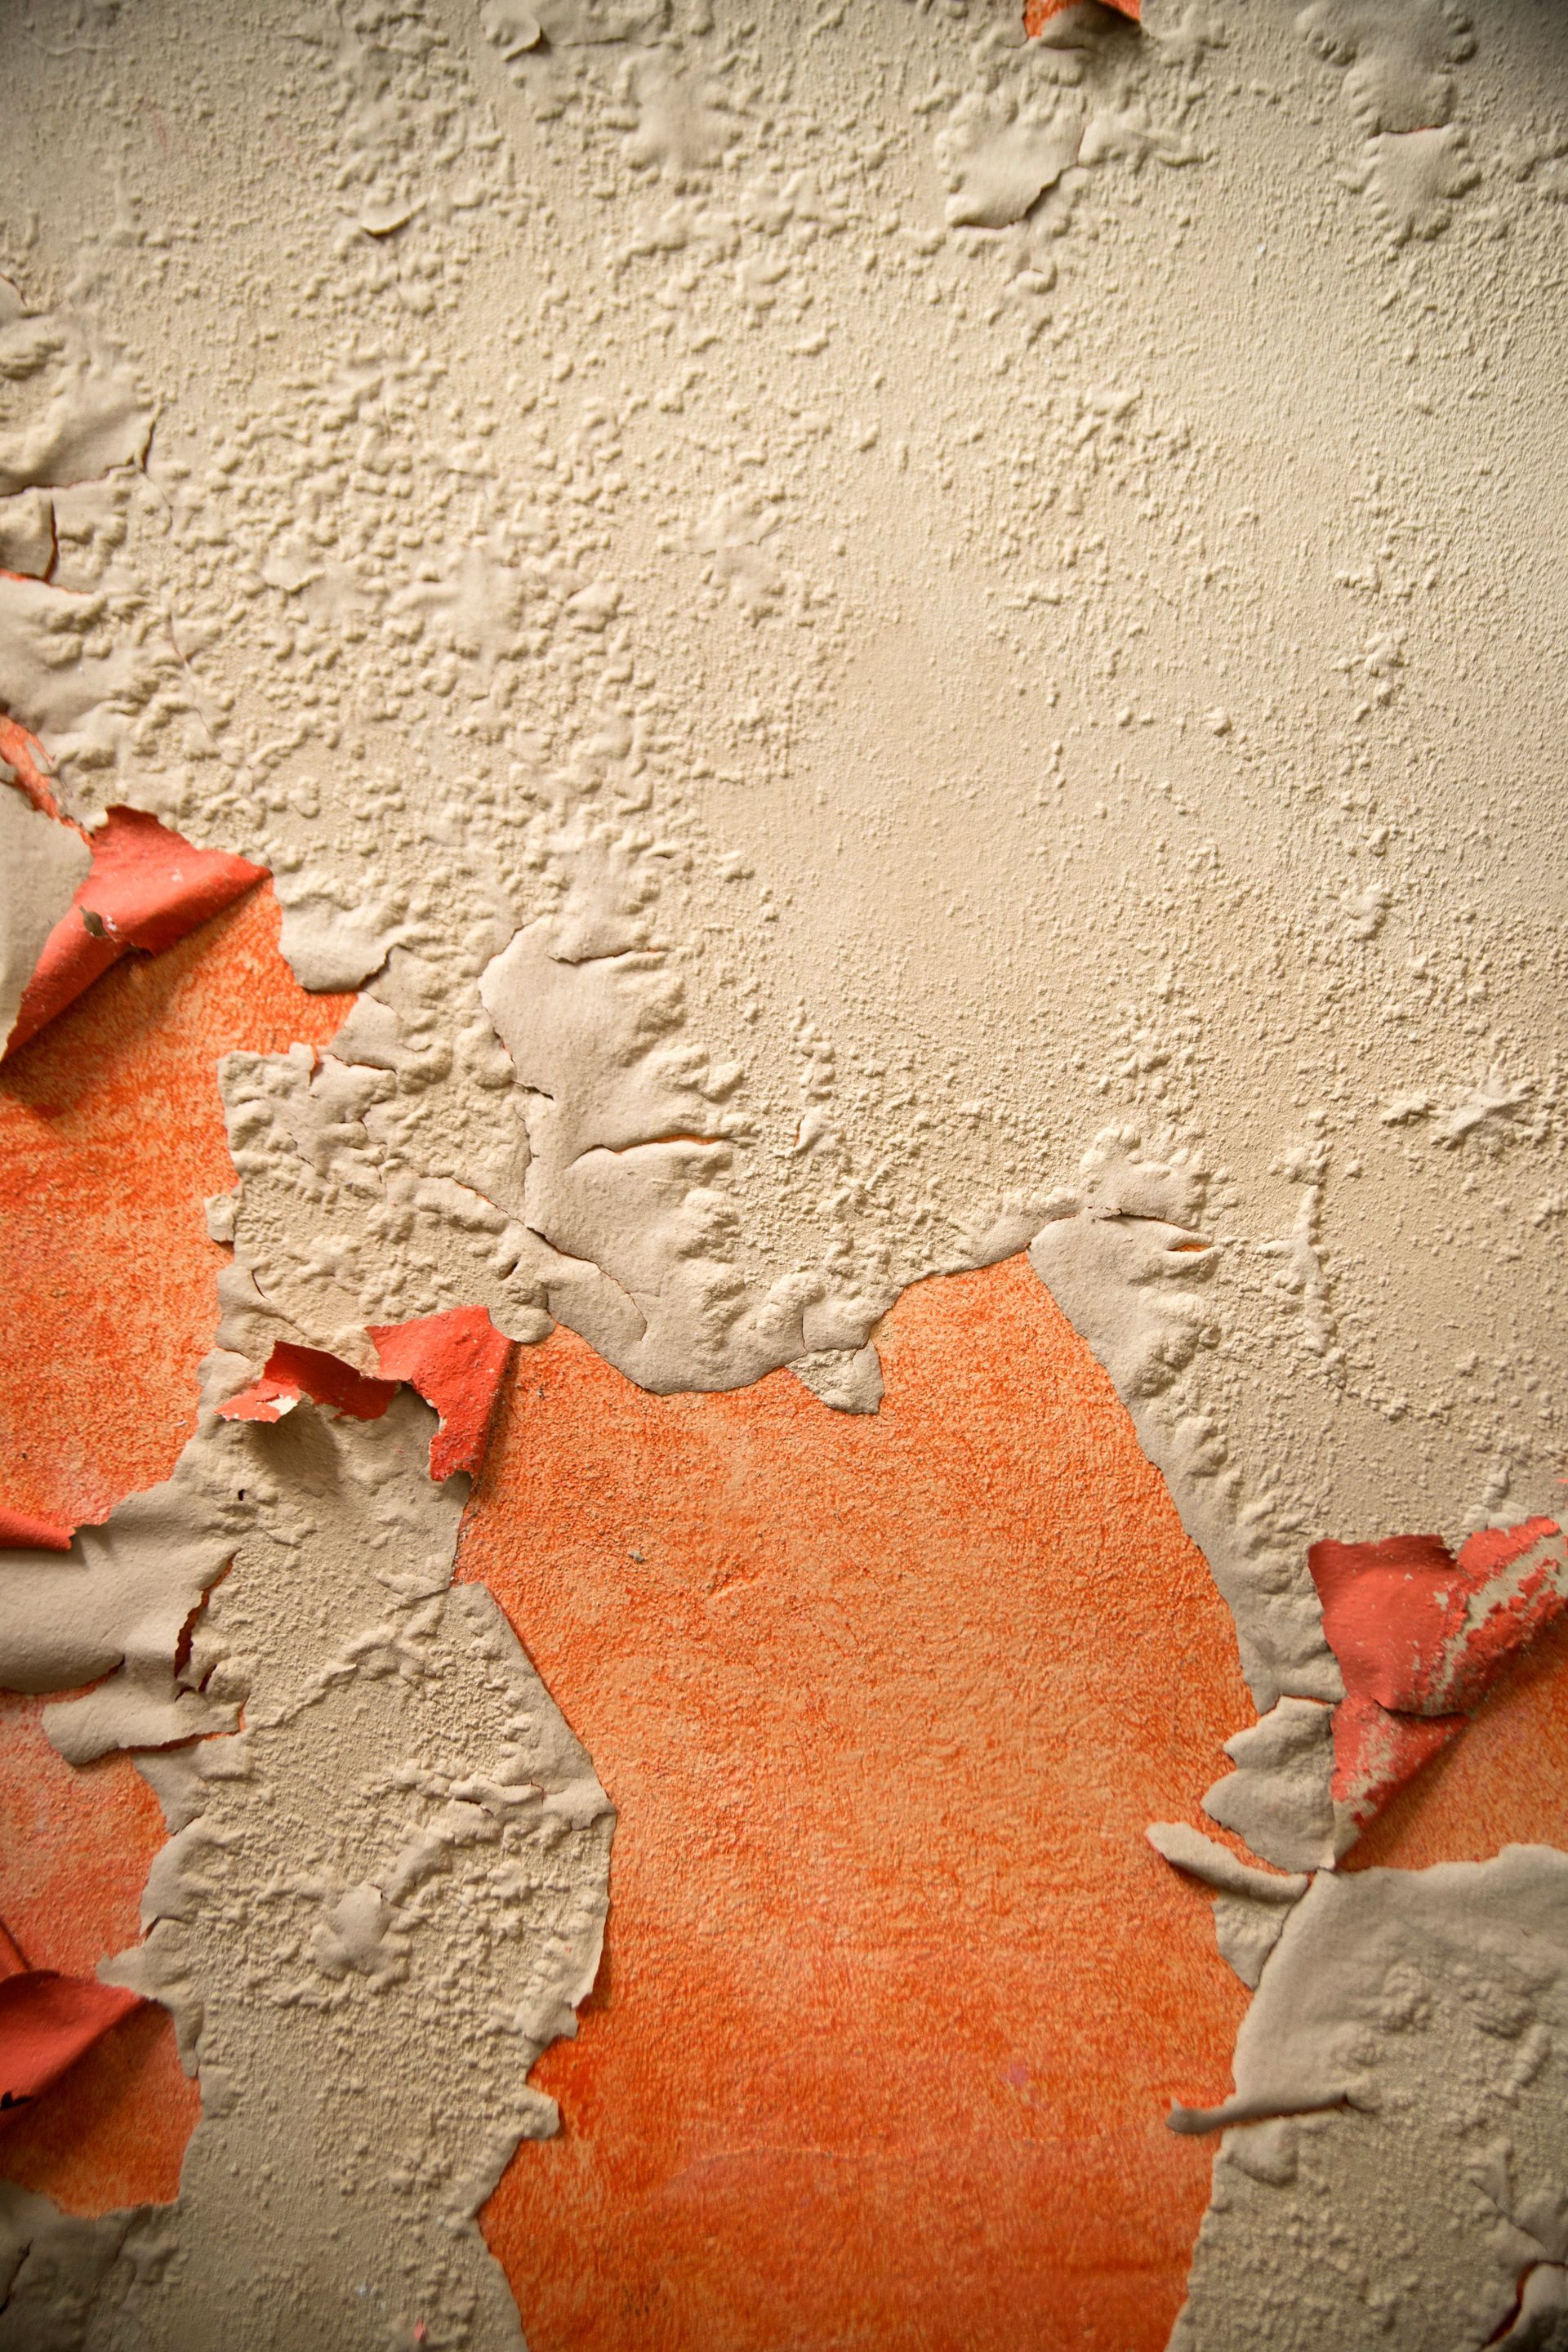
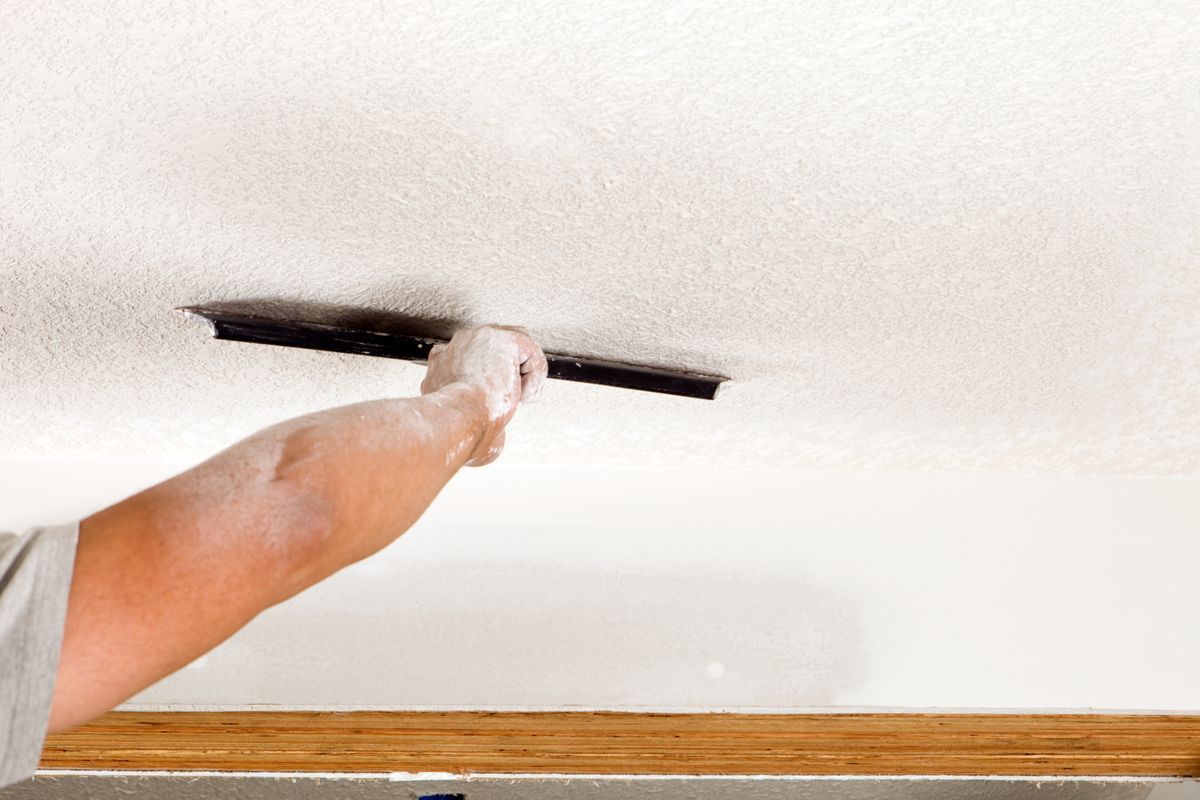
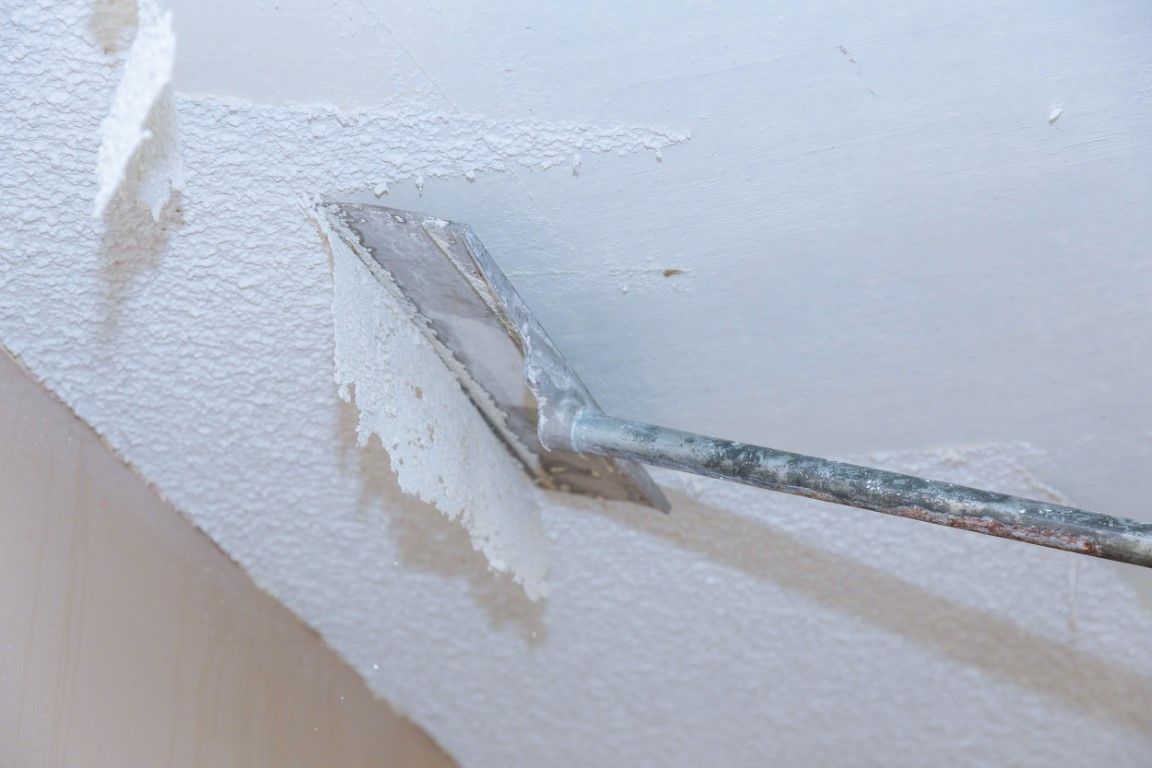
It comes down to what you’re dealing with. Popcorn texture isn’t just dust—it’s dried compound, sometimes mixed with paint or even asbestos (more on that later). When you start scraping it off, those tiny bits flake into the air, fall to the floor, cling to walls, and settle on anything that isn’t covered.
Here’s what contributes to the mess:
- Dry scraping kicks up the most dust. This happens when ceilings haven’t been painted or sealed.
- Water spraying helps soften the texture but adds muddy debris to the cleanup list.
- Ceiling height matters too. Higher ceilings can make containment more challenging.
- Painted popcorn ceilings are harder to remove. Paint seals the texture, making it less likely to absorb water and much harder to scrape cleanly.
This combination of dust and debris makes popcorn ceiling removal one of the messiest home improvement projects if done without a plan.
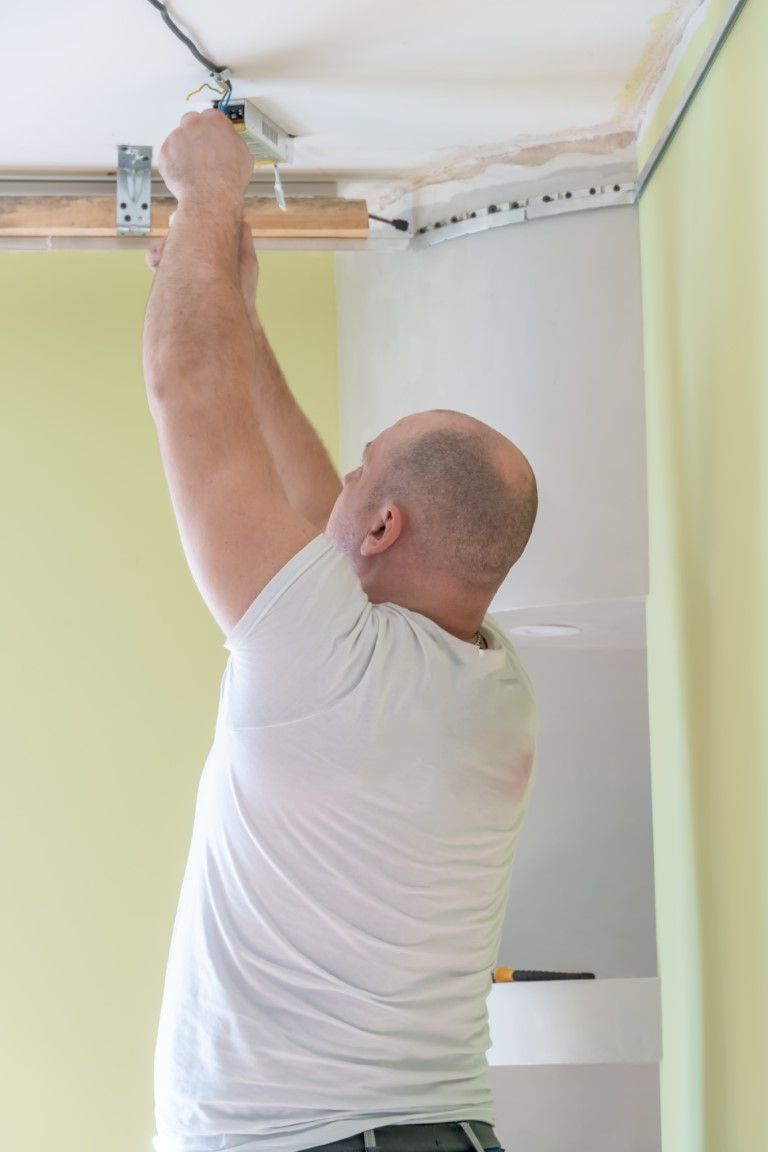
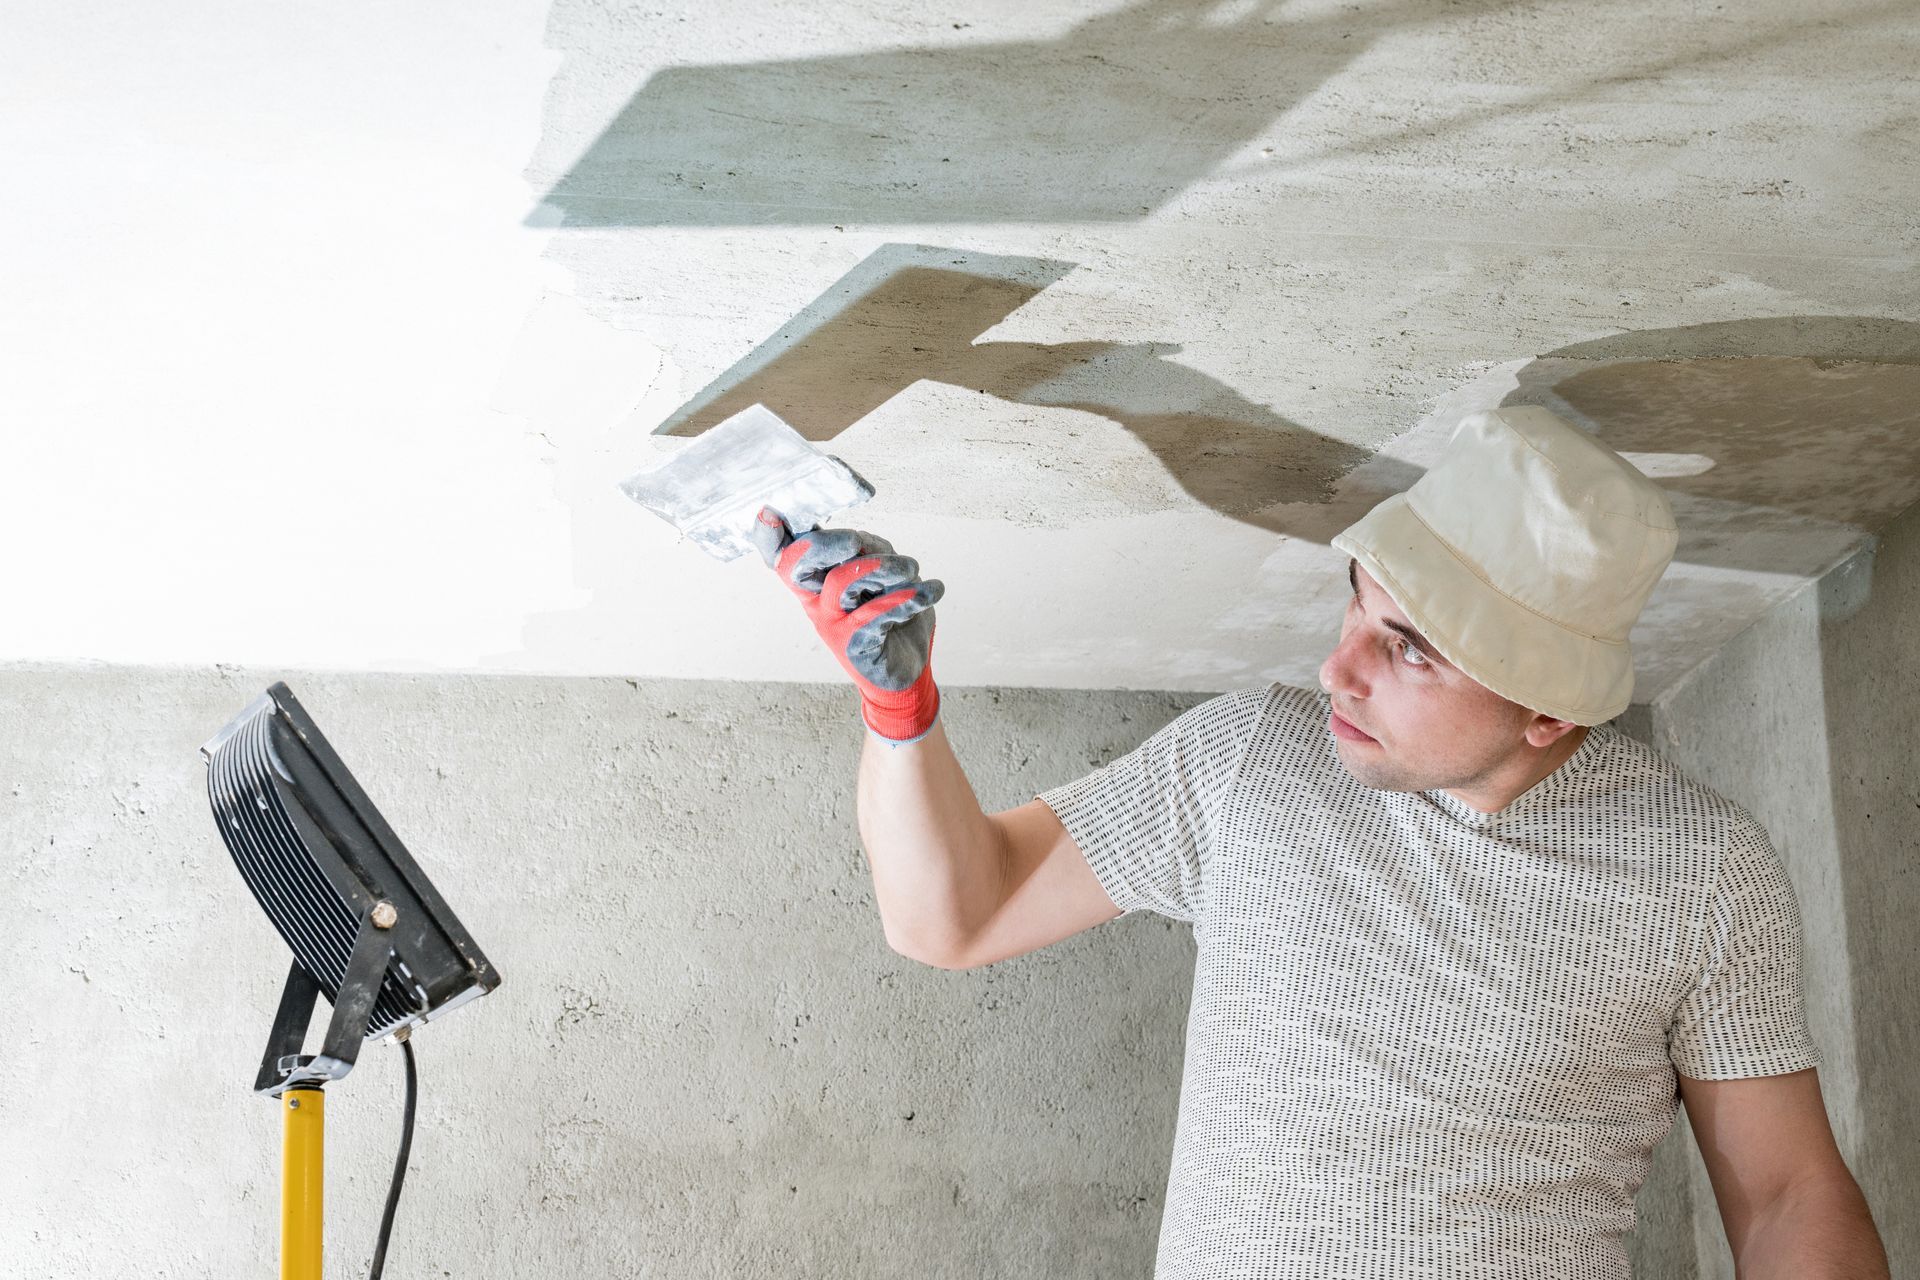
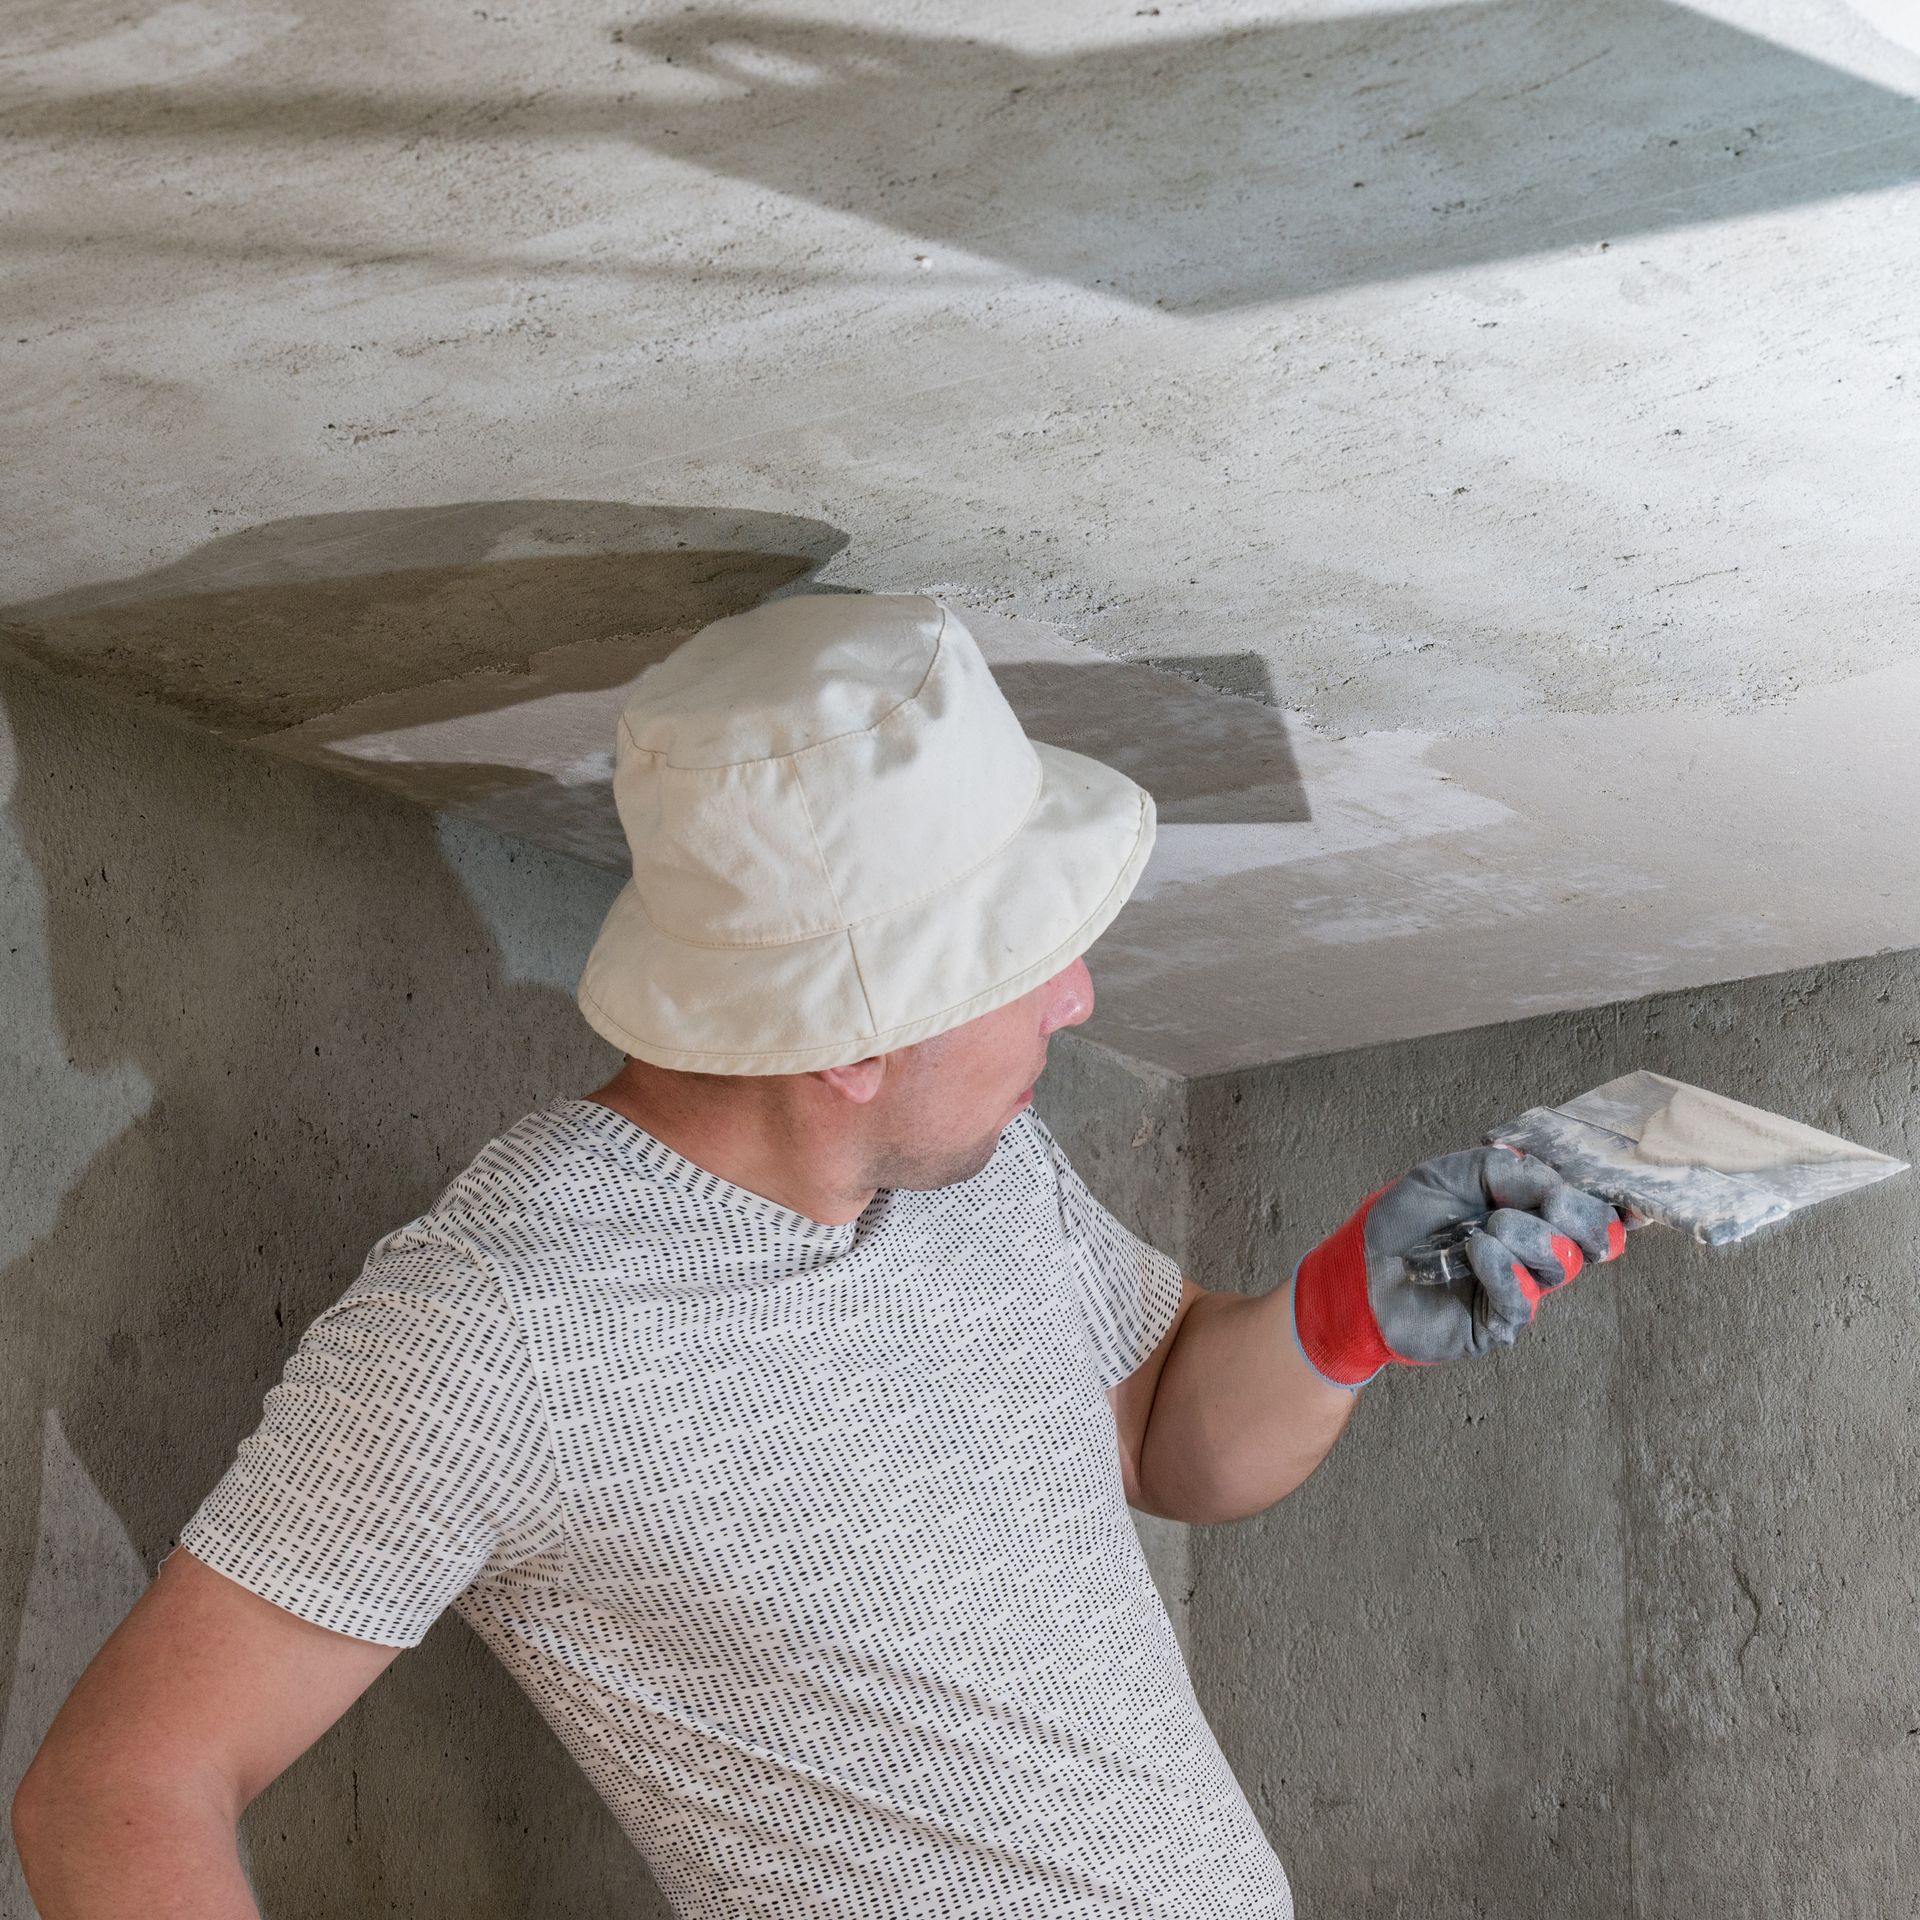
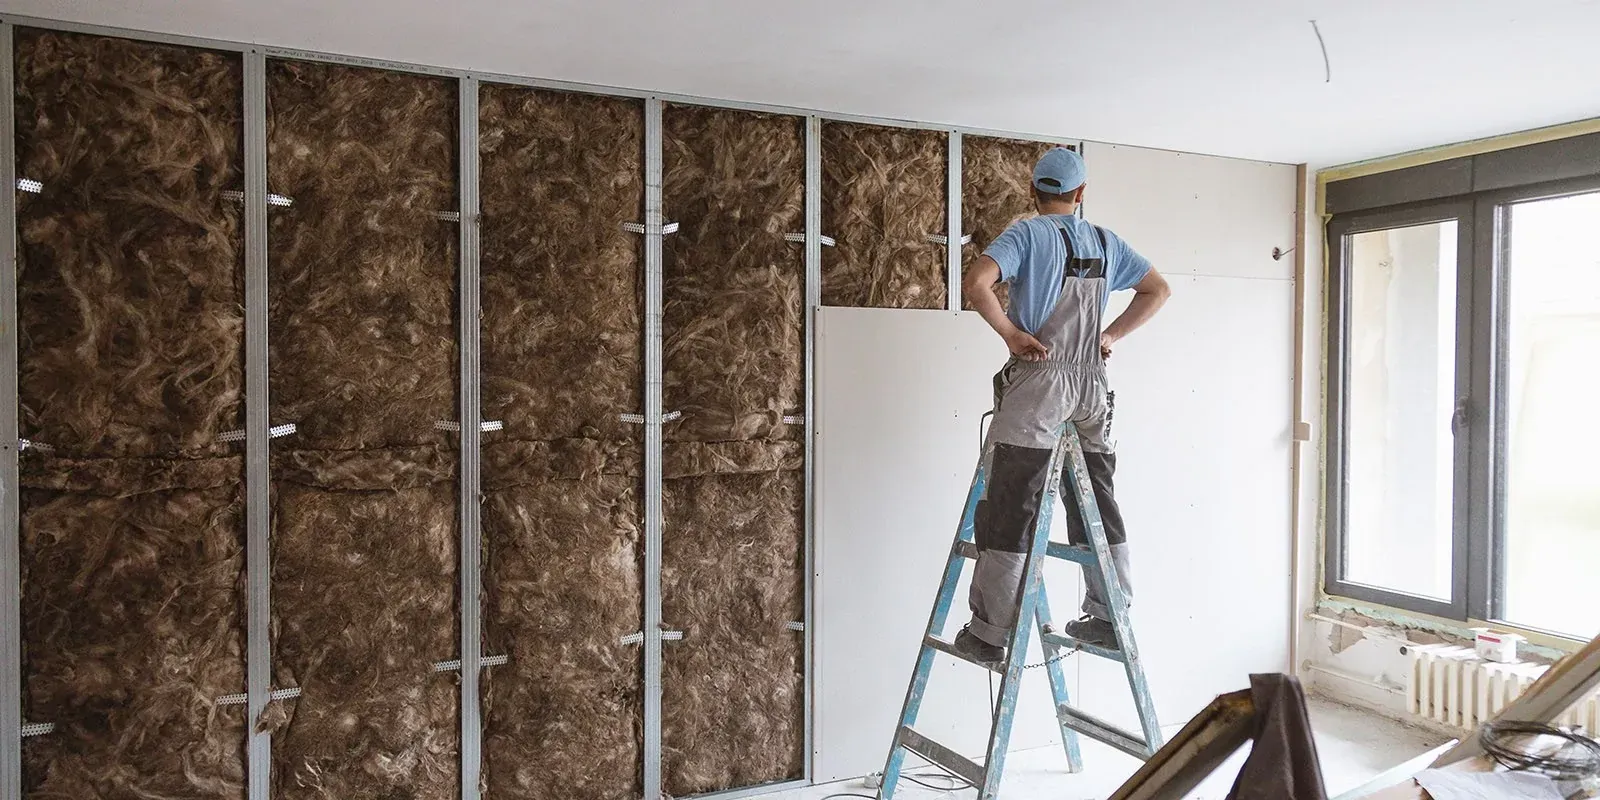
How Professionals Keep It Clean (Or at Least Controlled)
A messy job doesn’t have to mean a messy house. Experienced contractors take big steps to prep the space—and it makes all the difference.
Here’s how pros keep things in check:
- Cover every inch. Floors, walls, light fixtures, and furniture (if it can’t be moved) are covered in plastic sheeting and drop cloths.
- Seal it off. Vents and doorways are taped and sealed to prevent dust from spreading room to room.
- Use the right tools. Some companies use vacuums attached to scrapers to capture debris on the spot.
- Ventilation matters. Contractors often set up fans and open windows to keep air moving and help manage dust levels.
- Plan the cleanup. A solid plan means debris gets bagged and removed quickly. No flakes blowing around for days.
If asbestos is present (common in ceilings installed before 1980), professionals follow strict removal protocols, including air filtration and hazardous material disposal procedures. In these cases, DIY removal isn’t just messy—it’s dangerous.
What You Should Do Before Removal Starts
If you're hiring someone, great! But whether you’re going DIY or hiring a pro, a few prep steps on your end can really help:
- Move as much furniture as you can. The more out of the room, the better.
- Protect built-ins. Use painter’s plastic to seal off shelving or immovable pieces.
- Turn off HVAC systems. You don’t want dust pulled into the ducts.
- Communicate with your contractor. Make sure you understand the timeline, cleanup plan, and what level of dust protection is included.
Bonus tip: Schedule removal when you can be away from the house for a bit. The less traffic during the process, the cleaner everything stays.
Don’t Skip the Cleanup
Even with the best prep, some dust will get through. Plan for at least one round of thorough cleaning once the ceiling is bare and the new finish is applied.
Here’s a quick post-removal checklist:
- Vacuum with a HEPA filter.
- Wipe down all surfaces with a damp cloth.
- Replace HVAC filters if they were running during removal.
- Open windows to air out any lingering particles.
- Mop hard floors and shampoo carpets to remove fine dust that settled during the process.
What About Asbestos?
This one’s important. If your home was built before the 1980s, your popcorn ceiling might contain asbestos. Don’t take chances. You can’t tell just by looking. Testing is inexpensive and quick—do it before you start.
If asbestos is found, call in certified abatement professionals. The cleanup and removal process is much more involved, but it ensures your home and family stay safe.
Final Word: Yes, It’s Messy—but It Doesn’t Have to Be a Disaster
Popcorn ceiling removal can be messy. But it doesn’t have to turn your home upside down. With solid prep, the right tools, and expert help, you can keep the dust and debris under control.
Thinking about removing that outdated texture? Go in with a plan—or better yet, call in a pro who knows how to keep things clean. Your ceiling (and your floors, furniture, and sanity) will thank you!
Need help planning your popcorn ceiling removal? Reach out to our team for a quote—we’ll walk you through the process, keep it as neat as possible, and leave your space looking better than ever!